A new class can be created by using one of the Create icons in the Classes View:
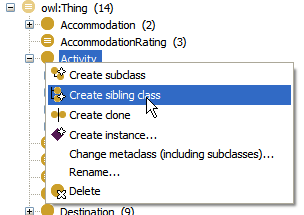
Alternatively, a new class can be created by right-clicking on any object in the Classes view and selecting appropriate option from the displayed menu.
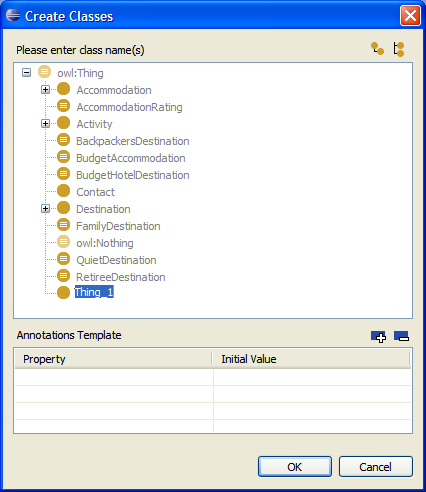
The class create dialog will be displayed. Here you can enter a class name. You can also create multiple classes at the same time, for example if you need to create many similar sibling classes. When done, click the OK button to create a class. Click Cancel to cancel.
The newly created class will be displayed in the Resource Editor.
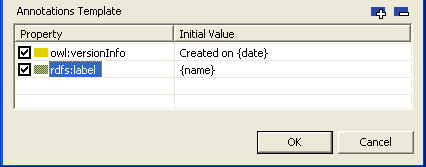
You can also supply the new class(es) with some initial annotations. You can use the Annotations Template section of the dialog to enter these. The values here can contain variables such as shown in the following screenshot. These will insert the current date and also create a label based on the converted CamelCase notation of the name. You can also insert language tags such as {@fr} into that template so that the resulting strings will become RDF literals with a language tag. These templates are saved with your project and will be available for creating other classes, properties or instances in the future.
These are the full list of supported templates:
If you want to use SHACL constraints on your class, use the Enable SHACL constraints for this class button found in the upper right corner of the form.